The Mount Is the Message: Why Tracking Precision Trumps Aperture in Astrophotography
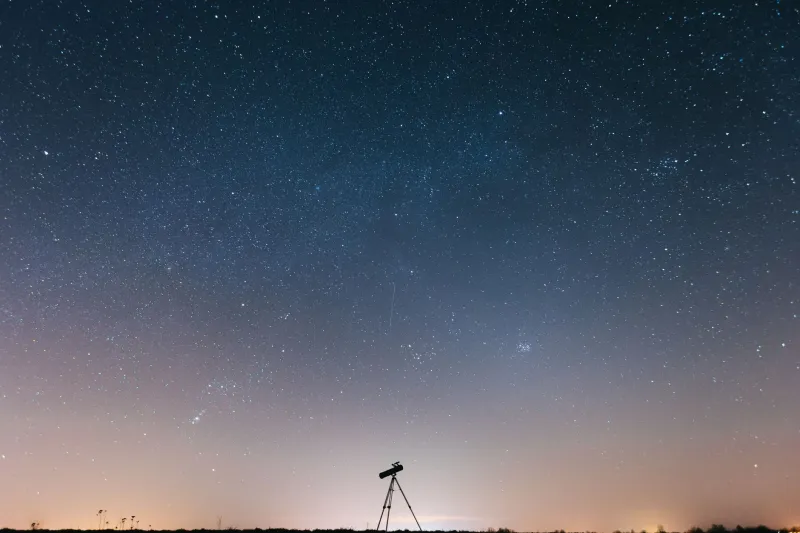
There is a persistent mythology in amateur astronomy that bigger glass solves most problems. A wider aperture gathers more light, resolves finer detail, and—so the thinking goes—produces better images. It is not a wrong idea, exactly. It is simply incomplete. The foundation on which that glass sits matters far more than most beginners, and even many intermediate imagers, are willing to acknowledge.
Your telescope mount is not a passive platform. It is an active participant in every single frame you record. When it performs well, it disappears from the equation entirely. When it underperforms, no amount of aperture, sensor sensitivity, or processing wizardry can fully compensate for what it has already destroyed.
What Tracking Error Actually Looks Like
At its most visible, a poorly tracking mount produces star trails—elongated smears that ruin any long exposure outright. But the subtler manifestations are far more insidious. A mount with moderate periodic error introduces a rhythmic, sinusoidal wobble that stretches stars into small ovals. Differential flexure between the optical tube and the guide camera creates a slow, unpredictable drift that no autoguider can fully anticipate. Backlash in the worm gear assembly causes the mount to momentarily hesitate—or lurch—when reversing direction during a correction.
Each of these phenomena degrades your point spread function: the mathematical description of how a point source of light (a star) is rendered on your sensor. A degraded PSF means bloated, asymmetric stars, reduced resolution, and a loss of the fine nebular structure you were hoping to capture. The problem is optical in its effect, but mechanical in its origin.
Here is the critical insight: a six-inch refractor on a well-tuned equatorial mount will routinely outperform an eight-inch instrument on a mediocre one. The photons arrive either way. Whether they land where they are supposed to is entirely the mount's responsibility.
Polar Alignment: The Bedrock of Everything
No tracking discussion begins anywhere other than polar alignment. An equatorial mount compensates for Earth's rotation by rotating on an axis parallel to our planet's rotational axis—but only if those two axes are actually aligned. Even a small angular error compounds over time, producing field rotation that no amount of declination correction can fix.
For imagers in the continental United States, Polaris sits conveniently close to the celestial pole, making rough polar alignment straightforward. Precise alignment is another matter. Drift alignment—the traditional method of observing how a star moves in declination over time while pointed near the meridian and horizon—remains one of the most reliable techniques available, requiring nothing more than patience and a carefully centered star.
Software-assisted polar alignment, offered by programs such as SharpCap and integrated into many ASIAIR or similar controller units, has made the process considerably faster. These routines rotate the mount through a defined arc and calculate the residual polar error with genuine precision. For most imaging sessions, achieving alignment within two arcminutes is sufficient for guided exposures up to several minutes in length.
Understanding and Measuring Periodic Error
Every worm-drive equatorial mount has periodic error (PE)—a cyclical position deviation caused by minute imperfections in the worm gear. The period typically corresponds to one full rotation of the worm, often somewhere between four and ten minutes depending on the mount design. PE magnitude is measured in arcseconds, peak-to-peak.
Many modern mounts offer Periodic Error Correction (PEC) training, in which the mount records a star's drift over one full worm period and then applies an inverse correction on subsequent rotations. A well-trained PEC curve can reduce PE by fifty percent or more. The training process requires a stable, unguided star observation across at least two full worm cycles—tedious, but well worth the effort.
Before training PEC, it is worth measuring your mount's raw PE using software such as PEMPro or the built-in analysis tools in PHD2 Guiding. Understanding the shape and amplitude of your error curve tells you whether your mount's behavior is primarily mechanical (a consistent, smooth sinusoid) or indicative of a deeper problem like a damaged gear tooth or contamination in the drive assembly.
Autoguiding: Compensation, Not Correction
Autoguiding is often treated as a cure-all, but it is more accurately described as a real-time compensation system. A guide camera monitors a selected star, detects any positional deviation, and sends correction pulses to the mount's drive motors. This process happens continuously, typically several times per second.
The limit of autoguiding effectiveness is defined by something called the guiding bandwidth. The system can only correct errors that occur slowly enough for the guide loop to detect and respond. Rapid, high-frequency errors—often called high-frequency periodic error or mount resonance—happen faster than the guide loop can track and therefore pass directly into your images.
This is why reducing PE through PEC training, balancing your optical tube assembly carefully, and ensuring all mechanical connections are snug matters even when you are guiding. Autoguiding handles the low-frequency residual. Everything else is up to you and your mount's mechanical quality.
For imagers working with longer focal lengths—anything north of 1,000mm—the demands on guiding precision increase substantially. At these focal lengths, even a quarter-arcsecond guide error produces a visible star elongation. Multi-star guiding, available in recent versions of PHD2, averages corrections across several reference stars simultaneously, reducing the impact of atmospheric scintillation on individual guide star measurements.
Practical Improvements Without Purchasing New Equipment
Before concluding that your mount is simply inadequate, consider a systematic evaluation of variables within your control.
Balance. An unbalanced optical train places asymmetric load on the worm gear, causing it to ride against one face of the worm wheel rather than centering itself. Even slight east-side-heavy balance—a common recommendation for reducing backlash effects—can make a meaningful difference in guiding smoothness.
Cable management. Imaging cables that snag, bind, or change tension as the mount tracks are a surprisingly common source of periodic jumps in the guide graph. Routing cables so they drape freely and securing them with hook-and-loop fasteners takes fifteen minutes and occasionally transforms a frustrating session.
Lubrication. Older mounts often suffer from dried or contaminated grease in the drive assembly. Disassembling and regreasing a worm drive is within the capability of most mechanically inclined imagers and can dramatically reduce PE amplitude and roughness.
Backlash adjustment. Many mounts allow mechanical backlash adjustment via set screws on the worm block. Reducing backlash improves the mount's response to direction-reversal corrections, which is particularly important for declination guiding.
The Frame You Cannot Recapture
Every night of clear skies is a finite resource. The hours between astronomical twilight and dawn do not come back. When your mount is underperforming, it is not simply producing inferior images—it is consuming irreplaceable time and opportunity.
The investment required to truly understand your mount—to learn its error signature, train its PEC curve, dial in its balance and polar alignment—is entirely front-loaded. Once that work is done, the improvement persists across every subsequent session. No new optical tube delivers a comparable return on the same investment of time and attention.
Capturing the universe one frame at a time requires that each frame actually land where it belongs. The mount makes that promise, or breaks it, every single night.