Five Hundred Dollars and a Clear Night: Building Your First Astrophotography Rig from the Ground Up
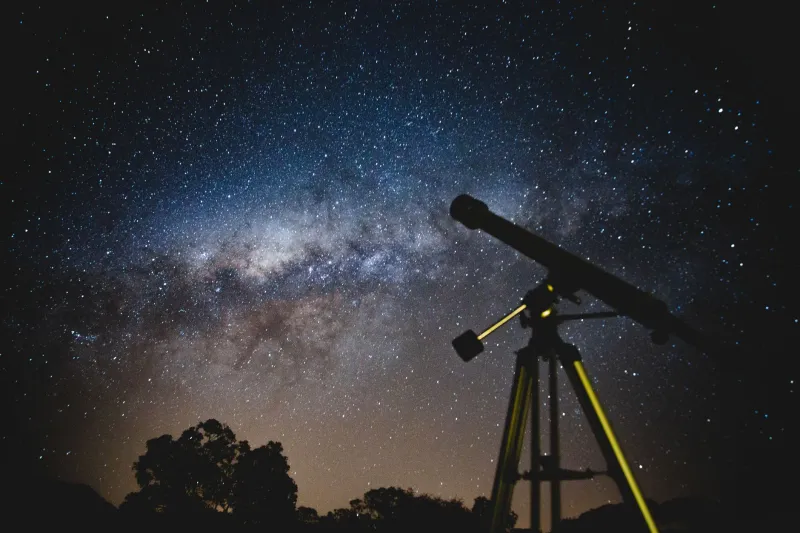
The night sky has a way of making people feel small — and curious. For many Americans, that curiosity eventually becomes a question: Can I actually photograph this? The honest answer is yes, and the financial barrier is far lower than the industry's glossy catalogs might suggest. A disciplined budget of $500 can yield a functional, capable astrophotography setup that produces images worth sharing and skills worth building upon.
This guide is written for the absolute beginner — someone who may own a smartphone camera but has never pointed a telescope at anything more distant than the neighbor's rooftop. We will cover every essential component, explain the trade-offs honestly, and provide a clear path from unboxing to first light.
Understanding What You Are Actually Trying to Do
Before spending a single dollar, it helps to define a realistic goal. Astrophotography is a broad discipline. At one end sits deep-sky imaging — capturing distant galaxies and nebulae — which demands sophisticated, expensive equipment. At the other end sits planetary and lunar photography, which rewards modest gear with surprisingly detailed results. For a first setup under $500, the Moon, Jupiter, Saturn, and wide-field star fields are your primary targets. This is not a consolation prize; these subjects produce breathtaking images and teach foundational skills that scale upward naturally.
The Mount: Your Most Important Purchase
Experienced astrophotographers share one piece of advice almost universally: spend money on the mount before spending it on the telescope. A mount is the motorized platform that tracks celestial objects as Earth rotates. Without accurate tracking, even a premium telescope produces blurred, streaked exposures.
For a budget build, the Sky-Watcher Star Adventurer Mini (approximately $130–$150) represents an excellent entry point. It is a dedicated star tracker rather than a full equatorial mount, which keeps costs down while providing the essential tracking function for wide-field and planetary work. Alternatively, the iOptron SkyGuider Pro at a similar price point offers comparable performance with a slightly different form factor.
If you intend to mount a small telescope rather than just a camera, consider stretching toward the Sky-Watcher EQ3-2 manual equatorial mount (around $180–$200), which accepts motor drive accessories later as your budget grows.
The Telescope: Aperture vs. Portability
For a sub-$500 build, two telescope types deserve serious consideration.
Refractors — the classic lens-based design — are low-maintenance, produce sharp images, and require minimal cooling time. The Apertura 60mm ED refractor (approximately $150) is compact, lightweight, and optically well-corrected for a beginner instrument. Its f/6 focal ratio works well with both dedicated astronomy cameras and standard DSLRs.
Reflectors offer more aperture per dollar. The Orion StarBlast 4.5 (around $140) provides a 4.5-inch mirror — significantly more light-gathering than the 60mm refractor — at a comparable price. The trade-off is a bulkier tube and occasional mirror alignment (collimation) requirements.
For this guide's recommended build, the 60mm refractor earns the nod for its simplicity and portability, qualities that genuinely matter when you are learning.
The Camera: Two Practical Paths
You have two sensible options without exceeding the budget.
Option A — Use a DSLR you already own. If you have a Canon Rebel or Nikon D3500 gathering dust, it connects to most telescopes via a simple T-ring adapter (under $20). These cameras perform admirably for Moon and planetary work and acceptable for bright deep-sky targets.
Option B — Purchase a dedicated planetary camera. The ZWO ASI120MC-S (approximately $100–$120) is a USB webcam-style camera purpose-built for planetary imaging. Its small sensor size and high frame rate allow you to capture hundreds of short exposures and stack them into remarkably detailed final images. This is the preferred approach for Jupiter and Saturn.
Additional Gear That Completes the Kit
Several lower-cost items round out a functional setup:
- A sturdy tripod ($40–$60): Essential if using a star tracker rather than a full mount. Look for payload ratings above 6 lbs.
- A 2x Barlow lens ($25–$35): Doubles your telescope's effective focal length, increasing planetary detail.
- A red-light flashlight ($10–$15): Preserves night vision during setup without disrupting your dark adaptation.
- A free stacking application: Programs such as AutoStakkert! and DeepSkyStacker are free, well-documented, and used by serious imagers worldwide.
Sample Budget Breakdown
| Component | Estimated Cost |
|---|---|
| Sky-Watcher Star Adventurer Mini | $145 |
| Apertura 60mm ED Refractor | $150 |
| ZWO ASI120MC-S Camera | $110 |
| T-ring adapter + 1.25" nosepiece | $20 |
| Tripod | $50 |
| 2x Barlow lens | $30 |
| Red flashlight + miscellaneous | $15 |
| Total | $520 |
With selective shopping — used equipment on Astromart, seasonal sales at Highpoint Scientific or OPT Telescopes — this total drops comfortably beneath the $500 target.
Your First Night: A Step-by-Step Approach
Setup night is not the night to attempt a faint galaxy. Begin with the Moon. It is bright, easy to locate, and extraordinarily forgiving of alignment errors. Point the telescope, achieve rough focus, connect the camera, and take your first exposure. The craters will appear. That moment — your first genuine image of another world — is the foundation everything else is built upon.
Once comfortable with the Moon, move to planetary targets during opposition periods. Jupiter's cloud bands and Saturn's rings are achievable within your first month. Wide-field star fields and bright nebulae such as the Orion Nebula follow naturally as your tracking and stacking workflow matures.
The Honest Truth About the Learning Curve
No equipment guide can substitute for time spent under the sky. The first several sessions will involve troubleshooting — a slightly misaligned finder scope, a focus that drifts with temperature, software settings that need adjustment. This is not failure; it is the process. Every experienced astrophotographer remembers those early nights of patient problem-solving, and most will tell you those sessions were among the most rewarding.
The cosmos is patient. So is the craft. With $500, a clear night, and this foundation in place, your first frame of the universe is closer than you think.