Frost, Dew, and the Long Night: A Winter Field Manual for Cold-Weather Imaging
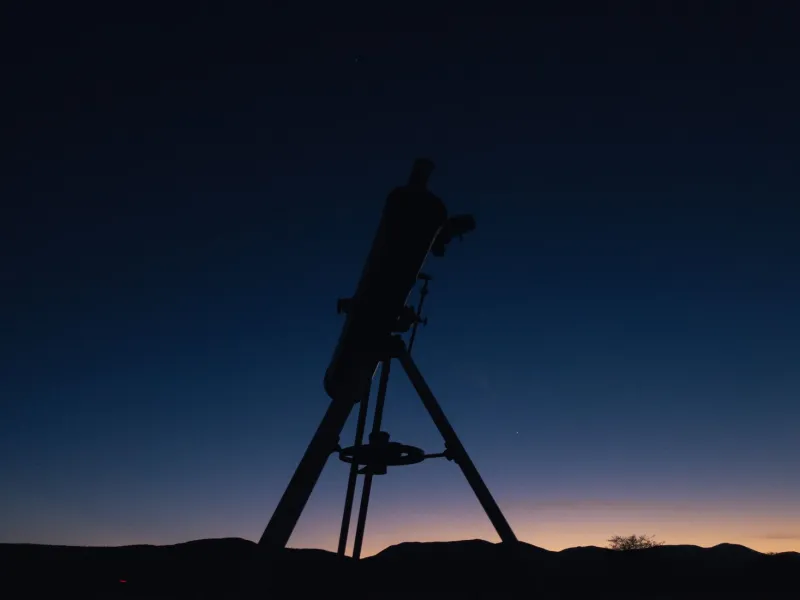
Winter has a reputation problem. In much of the United States, the coldest months also bring some of the steadiest, most transparent nights of the year. The obstacles are real—frost, dew, brittle cables, diminished battery capacity, numb fingers—but they are predictable. A cold-weather session succeeds when the imager treats temperature as a design constraint rather than a test of endurance.
Why Winter Deserves a Plan
Cold air often holds less moisture, and post-frontal skies can be remarkably clear. The trade-off is that surfaces cool quickly below the dew point, and equipment that behaved perfectly in October can fail in December without warning. The goal is not to suffer for the craft. The goal is to keep the optics dry, the power stable, and the observer safe long enough to use the clear nights that winter provides.
Dew Control Is a System
Dew is not a single problem with a single remedy. It is a thermal problem that appears on the corrector plate, the objective, the guide scope, the finder, and sometimes the camera window. A dew shield slows the cooling of exposed glass, but it does not replace active heat. Heater strips should be sized to the optics and controlled by a thermostat or controller that keeps the surface just above ambient. Overheating can create local turbulence and is rarely necessary.
Frost is dew that has crossed the freezing point. The same prevention strategy applies, but the margin for error is smaller. Bring caps, keep spare desiccant packets for sealed cases, and avoid breathing on cold optics. If a corrector plate begins to fog, stop and address it rather than imaging through a degrading surface. A few minutes of maintenance is cheaper than an hour of unusable data.
Power Planning for Cold
Batteries are chemical devices, and cold chemistry is slower chemistry. Lithium-based battery packs lose usable capacity as temperatures fall, and a pack that powers a full night in spring may fade before midnight in January. Keep batteries insulated and, when practical, keep them warm with a dedicated heater or an insulated enclosure. Measure the actual current draw of the mount, camera, focuser, dew heaters, and computer before the session, then add a generous margin.
If AC power is available, use a ground-fault-protected circuit and keep connections off the ground. If the session depends on batteries, bring more capacity than the calculation suggests. Stiff cables are another cold-weather failure point: they can pull on connectors, strain mounts, and transmit vibration. Silicone-jacketed cables and gentle routing help, but the simplest rule is to leave slack and avoid tight bends.
Thermal Adaptation
Optics need time to settle. A telescope that moves from a warm house to a cold night will change focus as the tube and glass contract. Autofocus routines should be scheduled more frequently in winter, and temperature-compensation features should be verified rather than assumed. Newtonian users may need to manage mirror currents with fans; refractor and catadioptric users should watch for focus drift and dew on the corrector.
Camera cooling also deserves restraint. Aggressive cooling in cold ambient air can increase the risk of frost on the sensor window or draw more power than necessary. The right set point is the one that keeps the sensor stable without pushing the hardware beyond what the night requires.
Safe Setup and Teardown
Cold-weather safety is mostly boring, which is why it works. Wear gloves that allow you to handle small connectors, use a red headlamp, and keep pathways clear of extension cords and tripod legs. Ice is a real hazard on decks and concrete. Do not force frozen knobs or thumbscrews; warm them with your hands or a hand warmer rather than risking a broken thread. If you are imaging alone at a remote site, tell someone where you are and when you expect to return.
Teardown matters as much as setup. Cap the optics before bringing them inside, and allow sealed cases to warm gradually so that condensation forms on the case rather than on the glass. Wipe down cables and connectors before storage. A little discipline at the end of the night protects the equipment for the next clear window.
Targets for the Long Night
Winter nights are long, and that length is an advantage. The Orion region, the Rosette Nebula, the Horsehead and Flame complex, the Christmas Tree Cluster, and a rich supply of open clusters and planetary nebulae are well placed for US observers. Long darkness supports multi-target sessions, mosaics, and longer integrations on bright emission nebulae. Use bright stars for focusing, and avoid low-altitude targets when atmospheric dispersion and haze are likely to soften the result.
The winter Milky Way is fainter than its summer counterpart, but it rewards wide-field imaging in dark locations. If the forecast turns marginal, shorten the plan rather than the safety margin. One well-executed target is better than three ruined by frost and fatigue.
The Forecast Is Part of the Equipment
Check dew point, wind, cloud cover, and seeing before you load the car. A winter session should have a clear stop condition: if the corrector fogs, if the battery drops below a safe voltage, or if the wind chill becomes unreasonable, stop. The cold is not the enemy. Unpreparedness is. With a dew-control system, a realistic power budget, thermal patience, and a safe teardown ritual, the coldest nights can be among the most productive of the year.