Color Fringing at the Eyepiece: Understanding and Defeating Atmospheric Dispersion in Planetary Imaging
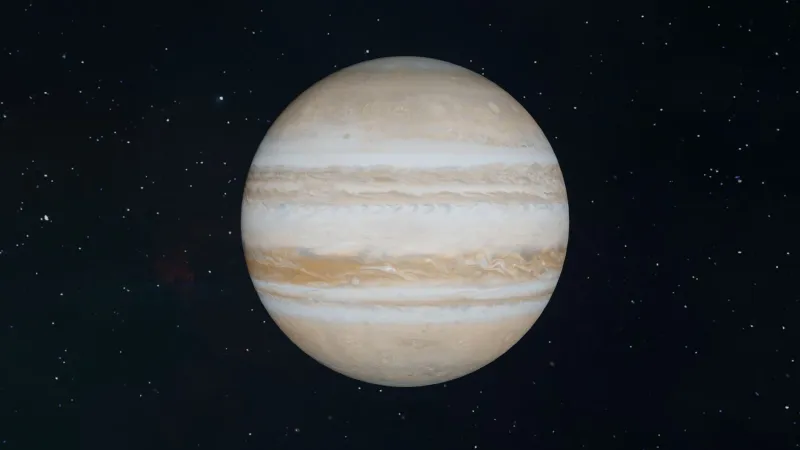
Spend enough time chasing sharp planetary frames and you will inevitably confront a frustrating pattern: a planet that appears crisp through the eyepiece but arrives on your camera sensor wearing a halo of mismatched color. Red bleeds upward, blue drifts downward, and the fine surface detail you worked so hard to capture dissolves into chromatic noise. The culprit is atmospheric dispersion — a fundamental optical consequence of observing celestial objects through miles of turbulent, refractive air — and it deserves far more attention than most introductory guides provide.
What Atmospheric Dispersion Actually Is
Earth's atmosphere behaves, in optical terms, like an enormous and imperfect prism. When light from a planet enters the atmosphere at an angle — which it always does unless the object is precisely at zenith — the air refracts different wavelengths by different amounts. Shorter wavelengths, particularly violet and blue light, bend more sharply than longer red wavelengths. The result is that your telescope is simultaneously receiving a slightly higher blue image of Jupiter and a slightly lower red image, stacked on top of each other.
At high altitudes above the horizon, this separation is negligible. But as a planet descends toward 30 degrees of altitude or lower — the range where many US observers must work to catch Jupiter or Saturn during certain oppositions — the color splitting becomes measurable in arcseconds. At 20 degrees altitude, dispersion can exceed two arcseconds across the visible spectrum, enough to visibly smear detail across a planetary disk that may itself subtend only 40 to 50 arcseconds at best.
This is distinct from chromatic aberration introduced by your optics, though the two are frequently confused. Chromatic aberration is an instrument defect; atmospheric dispersion is an environmental one. Both produce color fringing, but they behave differently and demand different solutions.
Recognizing the Signature in Your Frames
Detecting atmospheric dispersion in your captures is straightforward once you know what to look for. Load a raw, unprocessed planetary video frame — ideally a single frame rather than a stack — and examine the planet's limb carefully. Dispersion produces a consistent, directional color gradient: blue or violet on the upper limb (toward zenith), red or orange on the lower limb. This gradient runs along the altitude axis regardless of camera orientation.
Chromatic aberration from a poorly corrected refractor, by contrast, tends to produce a more symmetrical fringe that follows the entire circumference of a high-contrast edge rather than favoring one direction. If your color fringing changes character as the planet rises or sets, atmospheric dispersion is almost certainly the dominant factor.
Software tools such as AutoStakkert! and PIPP allow you to examine individual frames and channel alignment before committing to a final stack, making early detection practical even for imagers who prefer a streamlined workflow.
How Altitude and Atmospheric Conditions Compound the Problem
Altitude above the horizon is the primary driver of dispersion severity, but it is not the only variable. Temperature gradients within the atmosphere — particularly the boundary layer just above the ground — can amplify or modulate dispersion unpredictably. Humid nights common across the Gulf Coast and southeastern United States introduce additional refractive complexity compared to the drier air found at high-elevation sites in the American Southwest.
Seeing conditions interact with dispersion in a particularly punishing way. On nights of poor seeing, the atmospheric turbulence that blurs fine detail also stirs the dispersed color channels together, creating a smeared, low-contrast mess that resists both hardware and software correction. The practical implication: even the best atmospheric dispersion corrector cannot fully compensate when seeing is poor, because dispersion correction and seeing correction address fundamentally different physical phenomena.
For US imagers, this creates a strategic consideration. Planets transiting at low altitudes — as Jupiter does for observers at northern latitudes during certain years — will always carry a dispersion penalty. Planning sessions around transit times, when the planet reaches its highest point in the sky, is the single most effective mitigation strategy that costs nothing.
Equipment Choices: Refractors, Reflectors, and ADCs
The telescope type you use influences how dispersion manifests, though it does not eliminate the atmospheric component. Apochromatic refractors are often praised for color correction, and rightfully so — their internal optics are designed to minimize chromatic aberration across multiple wavelengths. However, no refractor corrects for atmospheric dispersion, since that color separation occurs before light even enters the instrument.
Reflectors — Newtonians, Cassegrains, and their derivatives — introduce no chromatic aberration of their own, which at least ensures that the only color fringing you observe is truly atmospheric in origin. This makes dispersion easier to isolate and measure, though it does not reduce its severity.
The most effective hardware solution is an atmospheric dispersion corrector, or ADC. These devices, inserted into the optical train between the telescope focuser and camera, use a pair of counter-rotating prisms to introduce an equal and opposite dispersion to the light path, canceling out much of what the atmosphere has introduced. Units from manufacturers such as ZWO and Pierro-Astro have become widely accessible in the US market, with prices ranging from roughly $100 to $350 depending on barrel size and build quality.
Calibrating an ADC requires patience. The correction must be tuned to the specific altitude of the planet at the time of imaging, and it should be readjusted as the planet rises or sets during a session. Many imagers underestimate how quickly the required correction changes over a 30- to 60-minute imaging window.
Processing Techniques for Dispersion Recovery
Even with careful hardware correction, some residual color channel misalignment often persists in planetary stacks. Software alignment of individual color channels has become a standard step in serious planetary processing workflows.
In software such as Registax or AstroSurface, the red, green, and blue channels of a stacked image can be shifted independently along the altitude axis to achieve precise alignment. The target is a neutral, achromatic limb on both the upper and lower edges of the planetary disk. Over-correction is as damaging as under-correction, so this step benefits from a calibrated monitor and careful attention to edge detail.
For imagers using monochrome cameras with separate RGB filters — a workflow that offers significant advantages in resolution and sensitivity — dispersion correction becomes more complex because each filter channel is captured at a slightly different time, during which the planet has moved and atmospheric conditions have shifted. Capturing channels in rapid sequence and performing post-capture alignment using reference features on the planetary surface is the standard approach in this scenario.
Luminance-based workflows, where a high-resolution luminance channel captured with a near-infrared or green filter serves as the structural foundation for the image, can also reduce the visual impact of dispersion by minimizing reliance on the blue channel, which carries the most severe displacement.
Building a Consistent Anti-Dispersion Workflow
The most effective approach combines all three layers of mitigation: strategic timing, hardware correction, and software refinement. Image planets as close to transit as your schedule permits. Deploy an ADC when the target drops below 40 degrees of altitude, calibrate it carefully, and monitor its adjustment as the session progresses. During processing, perform channel alignment before applying any sharpening, since sharpening amplifies misalignment artifacts and makes subsequent correction far more difficult.
Atmospheric dispersion is not a problem that disappears with more expensive equipment or better technique alone. It is an inherent consequence of observing the universe through a planet-sized lens of imperfect air. Understanding its mechanics, however, transforms it from a mysterious source of frustration into a manageable variable — one more challenge to account for in the pursuit of capturing the solar system one precise, vivid frame at a time.