Meteors as a Second Layer: Planning the 2026 Geminids Around a Deep-Sky Session
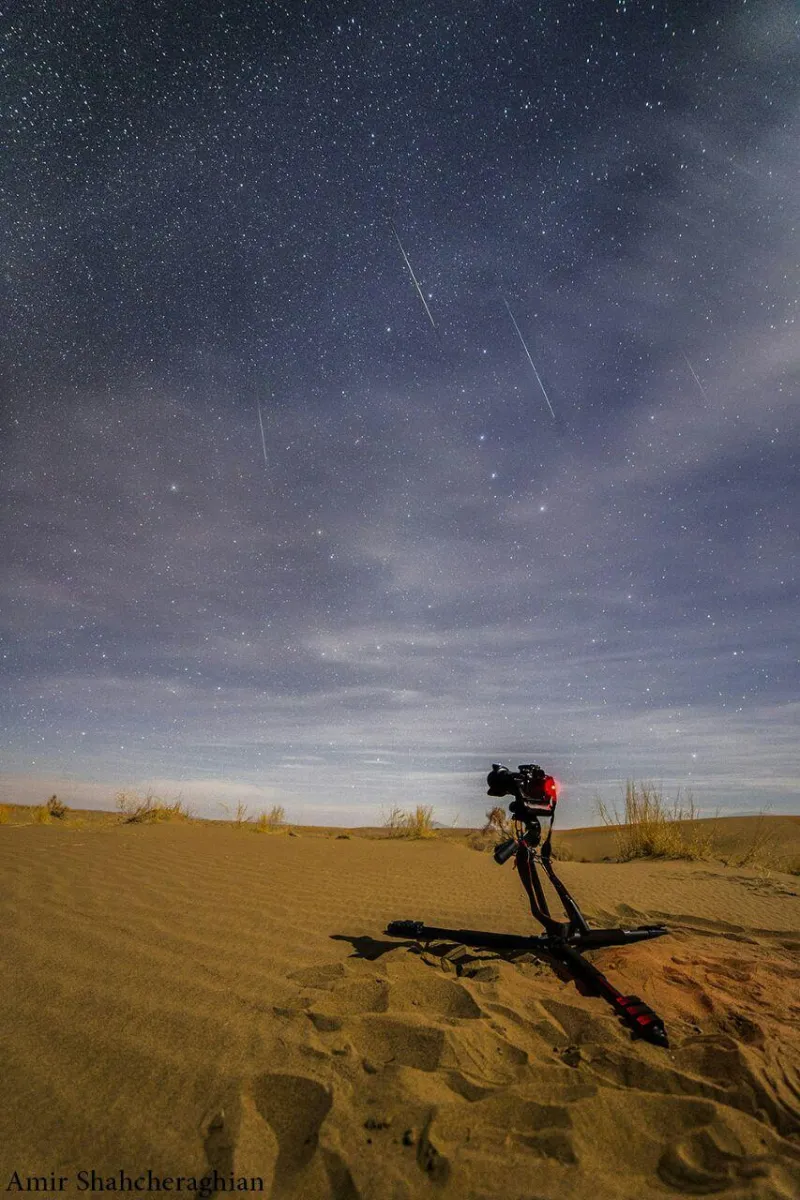
Photo: Amir shahcheraghian, CC BY-SA 4.0, via Wikimedia Commons
For deep-sky imagers, meteor showers often present a false choice: dedicate the night to wide-field meteor photography or continue the deep-sky project. The 2026 Geminids offer a third option. With a peak expected on the night of December 13–14 and a radiant that climbs high over the United States, the shower can be treated as an additive layer to an existing session—provided the planning is honest and the capture strategy is simple.
Why the Geminids Are Unusually Compatible
The Geminids are produced by debris from asteroid 3200 Phaethon, and they are known for bright, relatively slow meteors. For northern observers, the radiant in Gemini rises in the east-northeast after sunset and is well placed by late evening. That geometry matters: a high radiant means meteors can appear across much of the sky, and the shower remains active for hours rather than offering a brief spike. The broad maximum gives flexibility when weather or moonlight interferes on the exact peak night.
For a deep-sky rig, the key is to avoid placing the radiant inside the main field. Meteors that appear near the radiant are foreshortened; those farther away trace longer, more photogenic paths. A target 30 to 60 degrees from the radiant can remain the primary subject while a piggyback camera watches a wider field.
Radiant Placement and Framing
Gemini is easy to locate: Castor and Pollux mark the heads of the twins. In mid-December, the constellation is well up in the eastern sky by mid-evening and nearly overhead after midnight for much of the contiguous United States. If your deep-sky target lies in Orion, Taurus, Auriga, or Monoceros, the radiant will be nearby but not necessarily inside the frame. Use planetarium software to check the angular separation and the direction of meteor trails.
For a piggyback wide-field camera, aim 30 to 60 degrees from the radiant. A 24mm lens on a full-frame camera will capture a generous swath of sky while keeping individual meteors recognizable. Avoid pointing directly at the radiant unless you want short, radial streaks; avoid pointing at the horizon unless you want atmospheric extinction to dim the show.
Moonlight and Weather Planning
December weather is the wild card. In the United States, clear nights are often followed by fast-moving fronts, and a promising forecast can deteriorate within hours. Use Clear Sky Charts, NOAA forecasts, and local observer reports, and keep the nights immediately before and after the peak as backups. The Geminids are active from roughly December 4 to 17, so a slightly early or late session can still produce meteors.
Moonlight is a separate variable. A bright Moon raises the sky background and reduces the contrast of faint meteors. Check the lunar phase for the peak week and plan around moonset if possible. If the Moon is up, favor brighter meteors and accept that the faintest trails will be lost. Do not let a bright Moon convince you to overprocess the frames later; the data will be what it is.
The Piggyback Option
The simplest way to add meteors without sacrificing deep-sky integration is a piggyback camera. Mount a wide-field camera on top of the main telescope, or use a second tripod if the main rig is small. A fast lens—14mm to 35mm, f/2.8 or faster—is ideal. Set the camera to manual mode, ISO 1600 to 3200, and exposures of 10 to 20 seconds with a one-second interval. Continuous capture is preferable to missing the brightest trail of the night while reviewing the last frame.
Rigidity matters. A piggyback camera that shifts will ruin the composite. Tighten the mounting hardware, tape down cables, and check for flexure before dark. Use a separate intervalometer and a fresh battery or external power source. Storage is rarely a problem for short exposures, but confirm you have enough card space for several hundred frames.
Exposure and Composite Strategy
Meteor composites succeed when they are honest. Keep the meteor frames separate from the deep-sky integration. After the session, align the wide-field frames on the stars, then blend only the meteors that clearly belong to the shower—those whose trails trace back to the radiant. Do not clone meteors, do not stretch a faint satellite trail into a meteor, and do not present a composite as a single exposure.
Software such as Sequator, Starry Landscape Stacker, or manual layer work in Photoshop can handle the alignment. The deep-sky image remains a separate stack. The goal is a pair of images that can stand alone: one deep-sky frame and one wide-field meteor composite. If time allows, a combined presentation can be effective, but transparency about the method is essential.
Realistic Expectations
Even at peak, a fast wide-field lens may capture a few dozen meteors over several hours; many will be faint. The Geminids are rich, but they are not a fireworks display. A productive night might yield one or two standout trails and a scattering of smaller streaks. That is a success. The deep-sky data collected simultaneously is the real anchor of the session.
A Simple Capture Plan
- Set the main rig on its deep-sky target as usual.
- Mount the piggyback camera rigidly and aim 30 to 60 degrees from the radiant.
- Use a fast lens at f/2.8, ISO 3200, 15-second exposures, one-second interval.
- Start at the end of civil twilight and run until dawn or moonrise.
- Take dark frames for the piggyback camera.
- Log start and end times, lens, ISO, and exposure length.
- After the session, separate meteor frames by visual inspection and align on stars.
If weather is marginal or the Moon is bright, protect the deep-sky data first. The Geminids will return next year; a compromised primary integration is harder to forgive. Treat the shower as a second layer, not a replacement, and the night can serve both goals.